The Honda GL500i Lives, May 31, 2021

So while wrapping up some of the EV related items ( still have to cut the sprocket guard and bottom plate from sheet metal and ordered a 46T rear sprocket), I gave the Honda GL500i a bit of attention this morning.

Looking at some possible reasons it was running cold on the right cylinder (it is a 2 cylinder 500 cc engine) I made changes to the air filter, the carb knob below the carbs, and the right spark plug connection.

The air filter, pictured below, is a mess. Not sure which previous owner thought this was a good idea but the whole thing reeks of engine fumes. Ordered a new one today.

Adjusting the knob below the carbs allowed the motor to idle at a higher rpm without adjusting the choke. Nice. Even nicer when I pulled the spark plug connection out and as soon as i broke the connection, but had not removed the cable, spark was made and the right cylinder fired up as well. The engine sounds a lot better that way.

Was able to ride it up hill in my driveway twice before taking it down the street and around the neighborhood & then back up my driveway (steep and short ends). Just need to fix the fork seal leaks, the leak by the clutch pedal, and figure out what the rear leak is from. As it is a shaft drive the rear leak could be from the connection to the wheel though it is not obvious from just looking at the tire (but the leak is only evident on the bottom half of the tire).

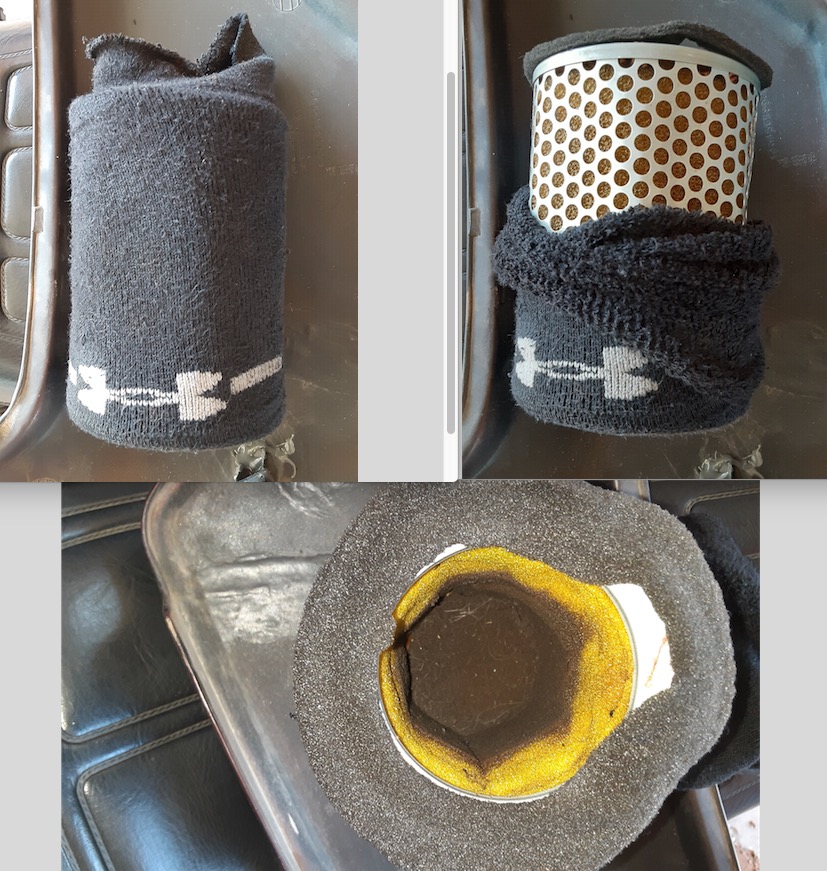
Air filter installed when purchased from previous owner … nuff said. Ordered a new one.

Voltage Drop for 8.4 mile ride, May 29, 2021

So I topped up the batteries last night to 81 volts and then took it on an 8.4 mile ride through part of town this morning – presuming the odometer is correct. After getting out of the neighborhood it was a mile downhill at 45 mph (mostly coasting assisted), then about 2 miles at 45 mph with 3 stop lights to destination. The only difference is that on the way back it was back up the long hill.

What i noticed while returning home was that the loud squeal I was hearing from the front of the bike was the sound of the speedometer connection with the cable from the front tire spinning rather hard and vibrating like crazy. Will check it for alignment (unplug cable and replug basically) to see if it will fix.

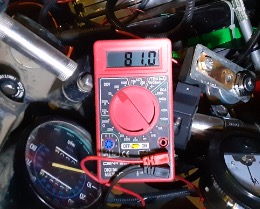
Anyway, voltage leaving was 81.0 volts, voltage after the 8.4 mile ride was 77.3 volts. This is a difference of 3.7 volts, which comes in at 8.4 miles / 3.7 volts = 2.27 miles / volts. Roughly a range of 38.59 miles with a low cutoff of 64 volts. Need try longer, just not keen on finding out the hard way i couldn’t quite make it home.

Volts after morning 8.4 mile ride
Volts last night after topping off

Gas Tank Mod, Registered, May 15, 2021

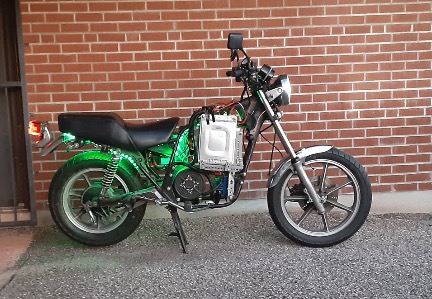
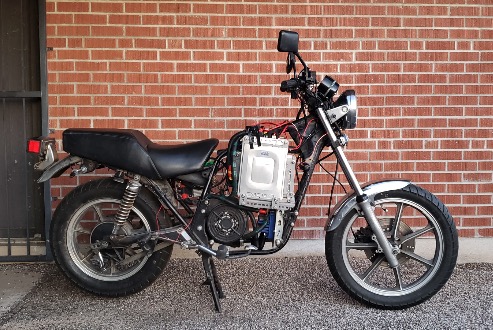
Finally got it re-registered and insured. Street legal now. Just need to finish some optics (wrap gas tank & other side panel i think), add a clip to pull the charging cable out through the gas tank lid, and install a chain slide and it is good to go. Actually the only real thing is to add the chain slide as I am using a smaller than stock sprocket so it will rub on the swing arm. Or i could just increase the front sprocket size, lengthen the chain, and get on with life also.

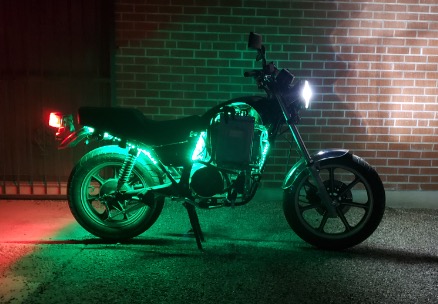
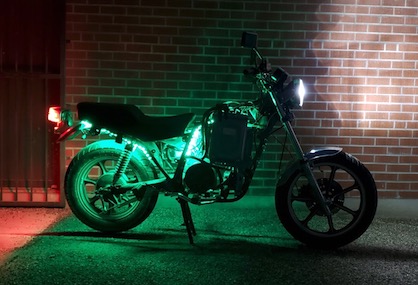
Side view at night with side panel and gas tank installed.
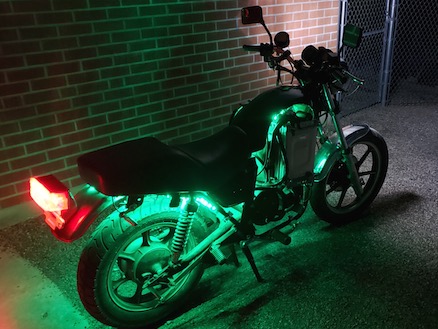
Side angle view at night
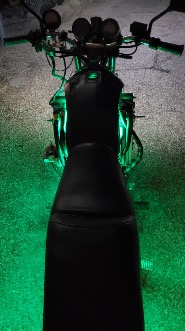
Rear top view at night

Accent Light Update, May 8, 2021

So I spend the day trimming the spaghetti wire nest in the headlight back so i could put the headlight on. Success. Darn engineers should make the headlight bucket 2 inches deeper than it needs to be to accomodate wiring. Anyway, progress pictures below. Just need to finish putting a bottom protection plate on, a sprocket cover, and finish the accent lighting and it will be functionally done. Then trimming back the gas tank a bit more to fit over the top of the batteries and it will be basic optics done. Advanced optics will have to wait a bit.

Main Wiring Harness & Views, May 2, 2021

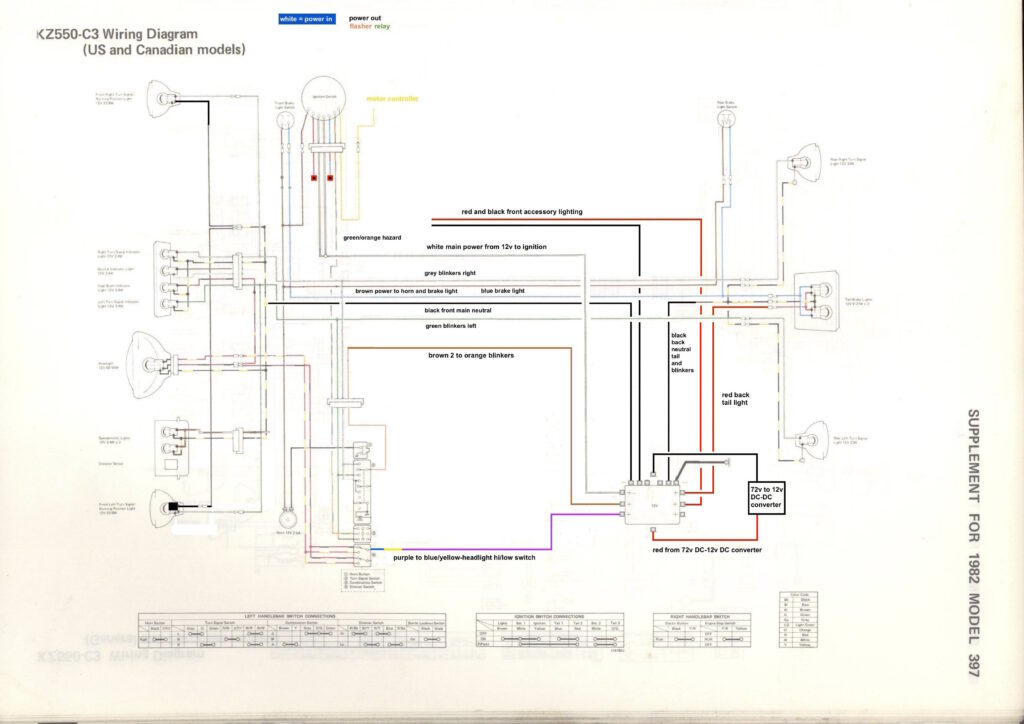
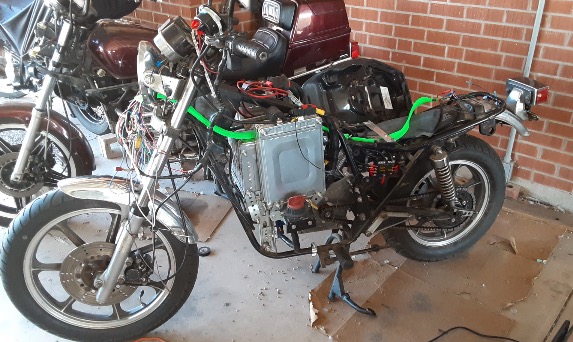
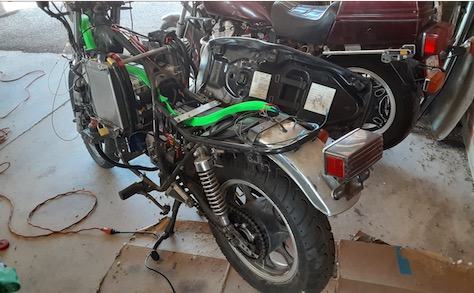
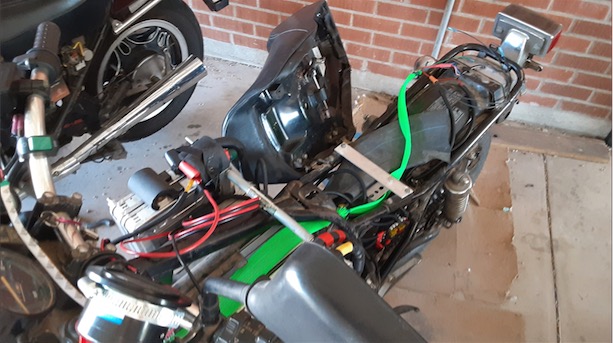
So have wrapped up just about everything in the wiring harness in the mid section and the rear of the bike. Just need to figure out how to mount the rear blinkers (yeah, not a standard blinker post depth), fix the negative line to ground to frame so the horn works (yeah, that stupid KZ method of using the handlebar as the ground path instead of a wire out from the left hand control can get in the way when trouble shooting).

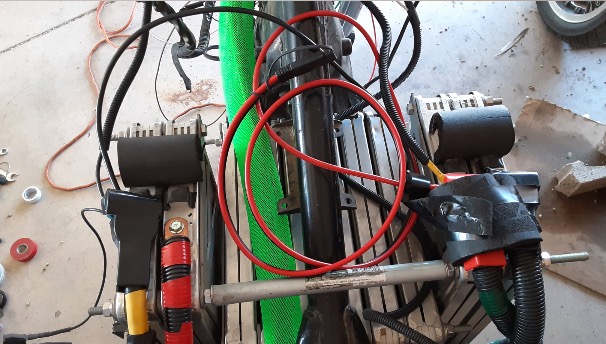
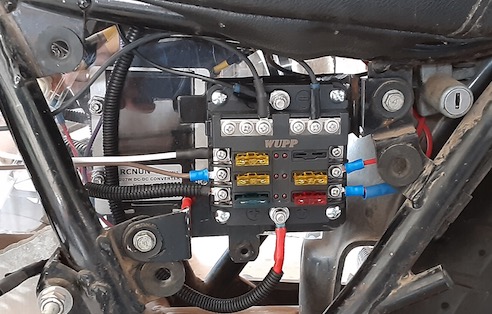
Pics are from the front side, rear side, and top. The bright green material is the sleeve for the new wiring. Each positive wire is run directly from the headlight bucket or ignition out (inside the headlight bucket) back to the fuseblock in the middle. Positive to the tail light and negative for the tail light and blinkers is from the fuse block directly. The fuse block has 6 positive circuits and a negative bus bar where all the negatives com back to.

1st Time Charging, May 1, 2021

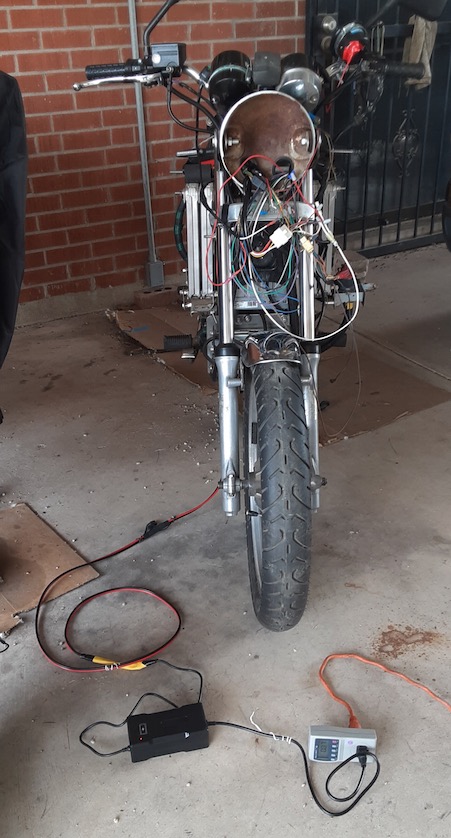
Got the bike far enough along that the wiring harness redo is almost done so I figured it would be a good time to charge it for once. Moral of story, buy a faster charger. It took about 11 hours to charge from 74 volts to 82 volts with a 72v (84v out) 3 amp charger. On the flip side the batteries did not get hot, though the fan in the charger ran continuously. The charging cable is a 10 ga SAE extension cable i cut in half and attached one side to the terminals on the inlet/outlet of the battery back and the other i spliced into the outlet side of the charger (yes, had to cut the old connector off).