Carb Assembly (September 23, 2013)

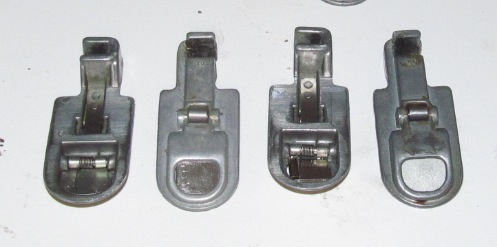
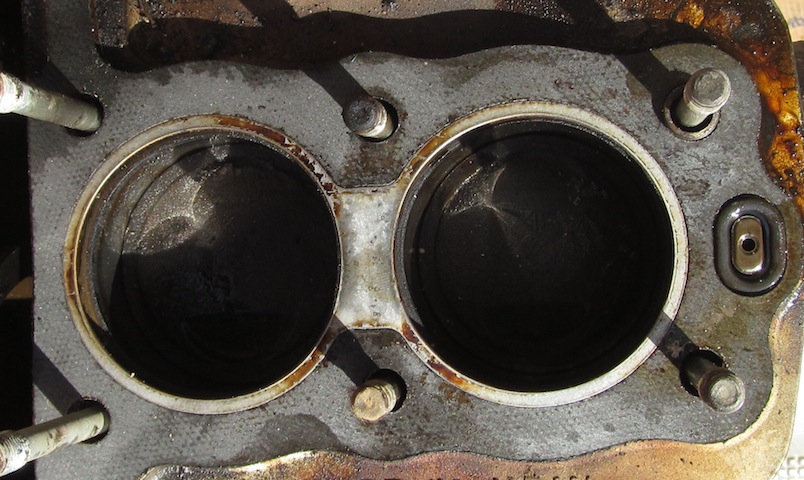
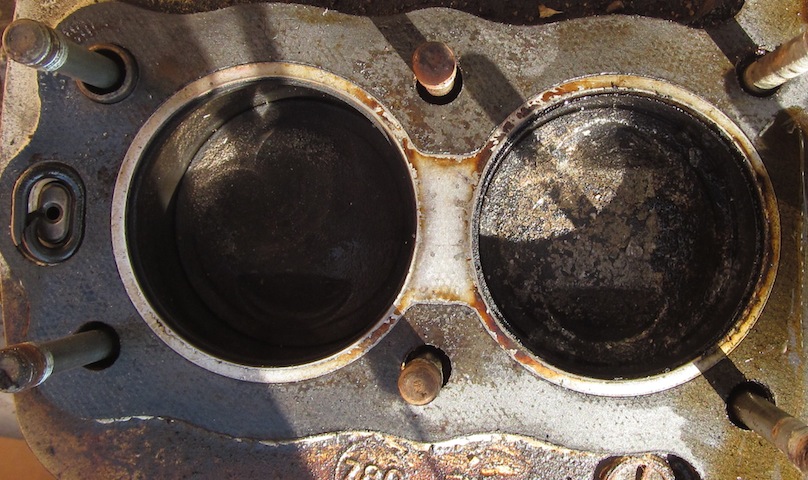
Finished putting the cylinder head, camshafts, chain, and cover back on yesterday & am now putting the carbs back together.  Bowls floats and needles have been cleaned and reinstalled so now I just need to finish the top end.  Working on the missing flaps on the slides & am wondering if I should even bother installing the slides.  It’s not like they’re really needed in the first place when they have holes in them.  But, just to give it a shot, I took a couple of picture frame holders and snapped them down to the right size and put them in the slides & have them held in place by the existing springs.  See picture.  Now how to keep them there?  J&B weld.  Covered over them on both sides & am waiting for it to dry so I can sand any rough edges down.  In the meantime what to do?  Go to autozone & buy some motorcycle oil … tomorrow.  Reinstall everything on Wednesday after the J&B weld has had the proper drying time and is checked for fit …

Note in the picture the middle two slides have the replacement flaps.  Outside two are the originals.  Pre-J&B weld.  Pics of the J&B weld fit tomorrow ….


20130923_kz550_carbflaps

Engine Assemble! (September 9, 2013)

Started putting the engine back together today.  Made good progress until I went to tighten down the cam cover & was torquing the 1st bolt with my torque wrench.  Broke the bolt  … in the hole with the cover on and all other screws hand tightened.  New gasket installed with gasket tack.  Great.  Get to take it all the screws out tomorrow (just from the cam cover), buy an extractor set, and hope the gasket is quite reusable.

In better news it will be on to the carburetor after that.  hopefully later this week I can try putting it on & seeing if it starts again.  Without breaking any more bolts.

Valve Compression Tool Insall (September 3, 2013)

Finally had the time to modify my valve compression tool & use it to reinstall the valves & the keepers.  The keepers are the hard part.  Always wear safety goggles when doing this.  The springs can uncompress quickly when the tool slips & you’ll get a socket, keeper, spring, or something in the face at a high velocity.  Despite 4 or 5 spring incidents I was only hit in the face twice – once in the lip with a socket and once between the eyes (but on the safety goggles) with the valve cap.

Note the tool is the same 8-inch c-clamp from harborfreight – just cut a piece of 3/4″ pvc conduit to a useable length, cut out a section (pipe cutting tool & huge pliers to break it off).  This works like a charm.  The pvc is a little flexible but that helped in my case to spread the load & not scratch the aluminum engine block and the hole I made in it is much easier to work with.

20130903_valvecompresstool_4817

Valve Cleaning (August 25, 2013)

Started cleaning the valves the other day, then googled & found a youtube on how to do a better job of it with a power drill and some fine grit sand paper.  Note the difference, before on left, after on right.  After getting the build-up off you can see the pitting that’s occurred on the valve.  Also noted the inlet valves are slighting larger in diameter than the outlet valves.

20130825_kz550_valveclean

Still Working on the Engine (August 22, 2013)

Finally made some time to make a valve spring compressor.  Yes, these things are expensive.  Not if you shop at Harbor Freight though … just buy an 8″ c-clamp for $7.50 (less with 20% off coupon & get a free flashlight, voltmeter, measuring tape, or screwdriver set while you’re at it), get a magnet & stick it on the threaded end, and add a socket with a smaller magnet inside of it.  Presto.  One functional valve spring compressor.  Just make sure to use a flat magnet that won’t crack/shatter when being compressed.  Hint:  Don’t use the small ones you can get from the inside of a dead hard-drive.  They crack/shatter with 3 or 4 turns under pressure.  Need to make a trip to Harbor Freight & see if they have anything stronger.20130822_valvespringcompressor

Another Safety Vest (August 20, 2013)

Dropped by my favorite Goodwill of Arizona store on the way back from a meeting today.  Score.  One ICON yellow safety vest = $6.99.  No tax.  These sell for $30+ normally.  Good shape, no road rash, rips, or anything.  Zippers all work.  Now I have a yellow one to complement my orange Victor Bravo brand one.20130820_goodwillvest_4213

So What’s Next?

So what’s next?  If i keep all of the pieces (pistons, valve/camshaft section) and repair the carbs I still need to replace the gaskets all the way down to the crankcase.  The next step is really determining what is still considered good or serviceable.  Noting the piece of the carb flap stuck in the valve of #2 there could be more inside of it – so I’ll need to get the proper tool for compressing the valves just to see what condition they are in.  Already have a used carb set from ebay so I might be able to scavenge enough parts to get the carbs working properly once they’ve been cleaned (my #2 slide riser is not working proper either), and I’ll need to patch up those flapper holes as well.  Hopefully this week I’ll be able to break the carbs down and see what condition the needles, jets, floats & etc are in.