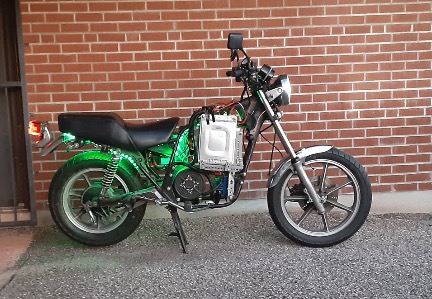
With the completion of the wiring i was able to test the LED H4 bulb and light distribution. Low beam appears to be upside down to my Honda Nighthawk 250, but will have to drive at night to test and probably change the headlight angle a bit.
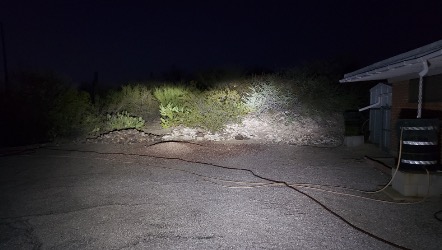
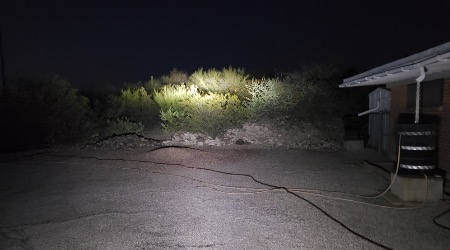
With the completion of the wiring i was able to test the LED H4 bulb and light distribution. Low beam appears to be upside down to my Honda Nighthawk 250, but will have to drive at night to test and probably change the headlight angle a bit.
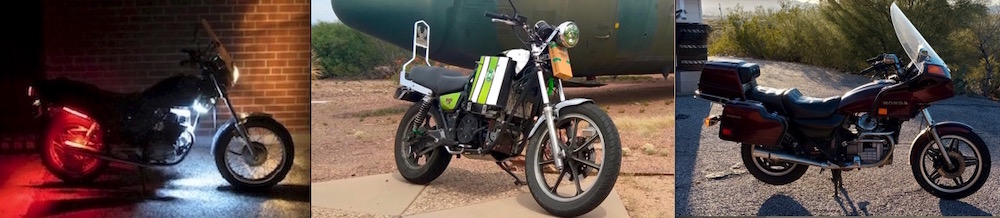
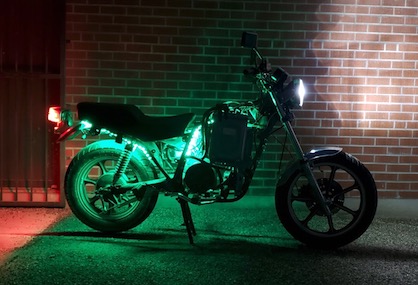
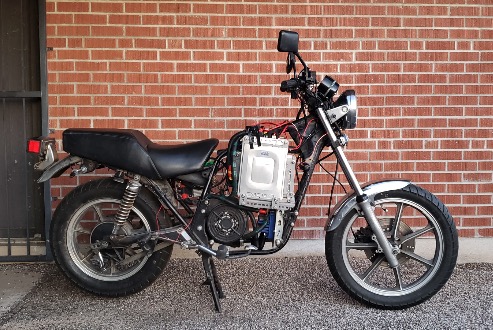
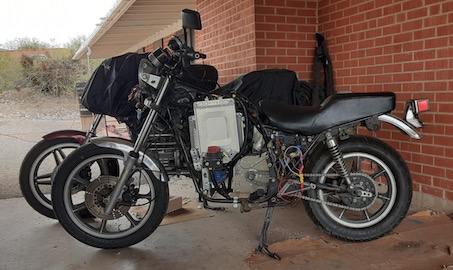
So I spend the day trimming the spaghetti wire nest in the headlight back so i could put the headlight on. Success. Darn engineers should make the headlight bucket 2 inches deeper than it needs to be to accomodate wiring. Anyway, progress pictures below. Just need to finish putting a bottom protection plate on, a sprocket cover, and finish the accent lighting and it will be functionally done. Then trimming back the gas tank a bit more to fit over the top of the batteries and it will be basic optics done. Advanced optics will have to wait a bit.
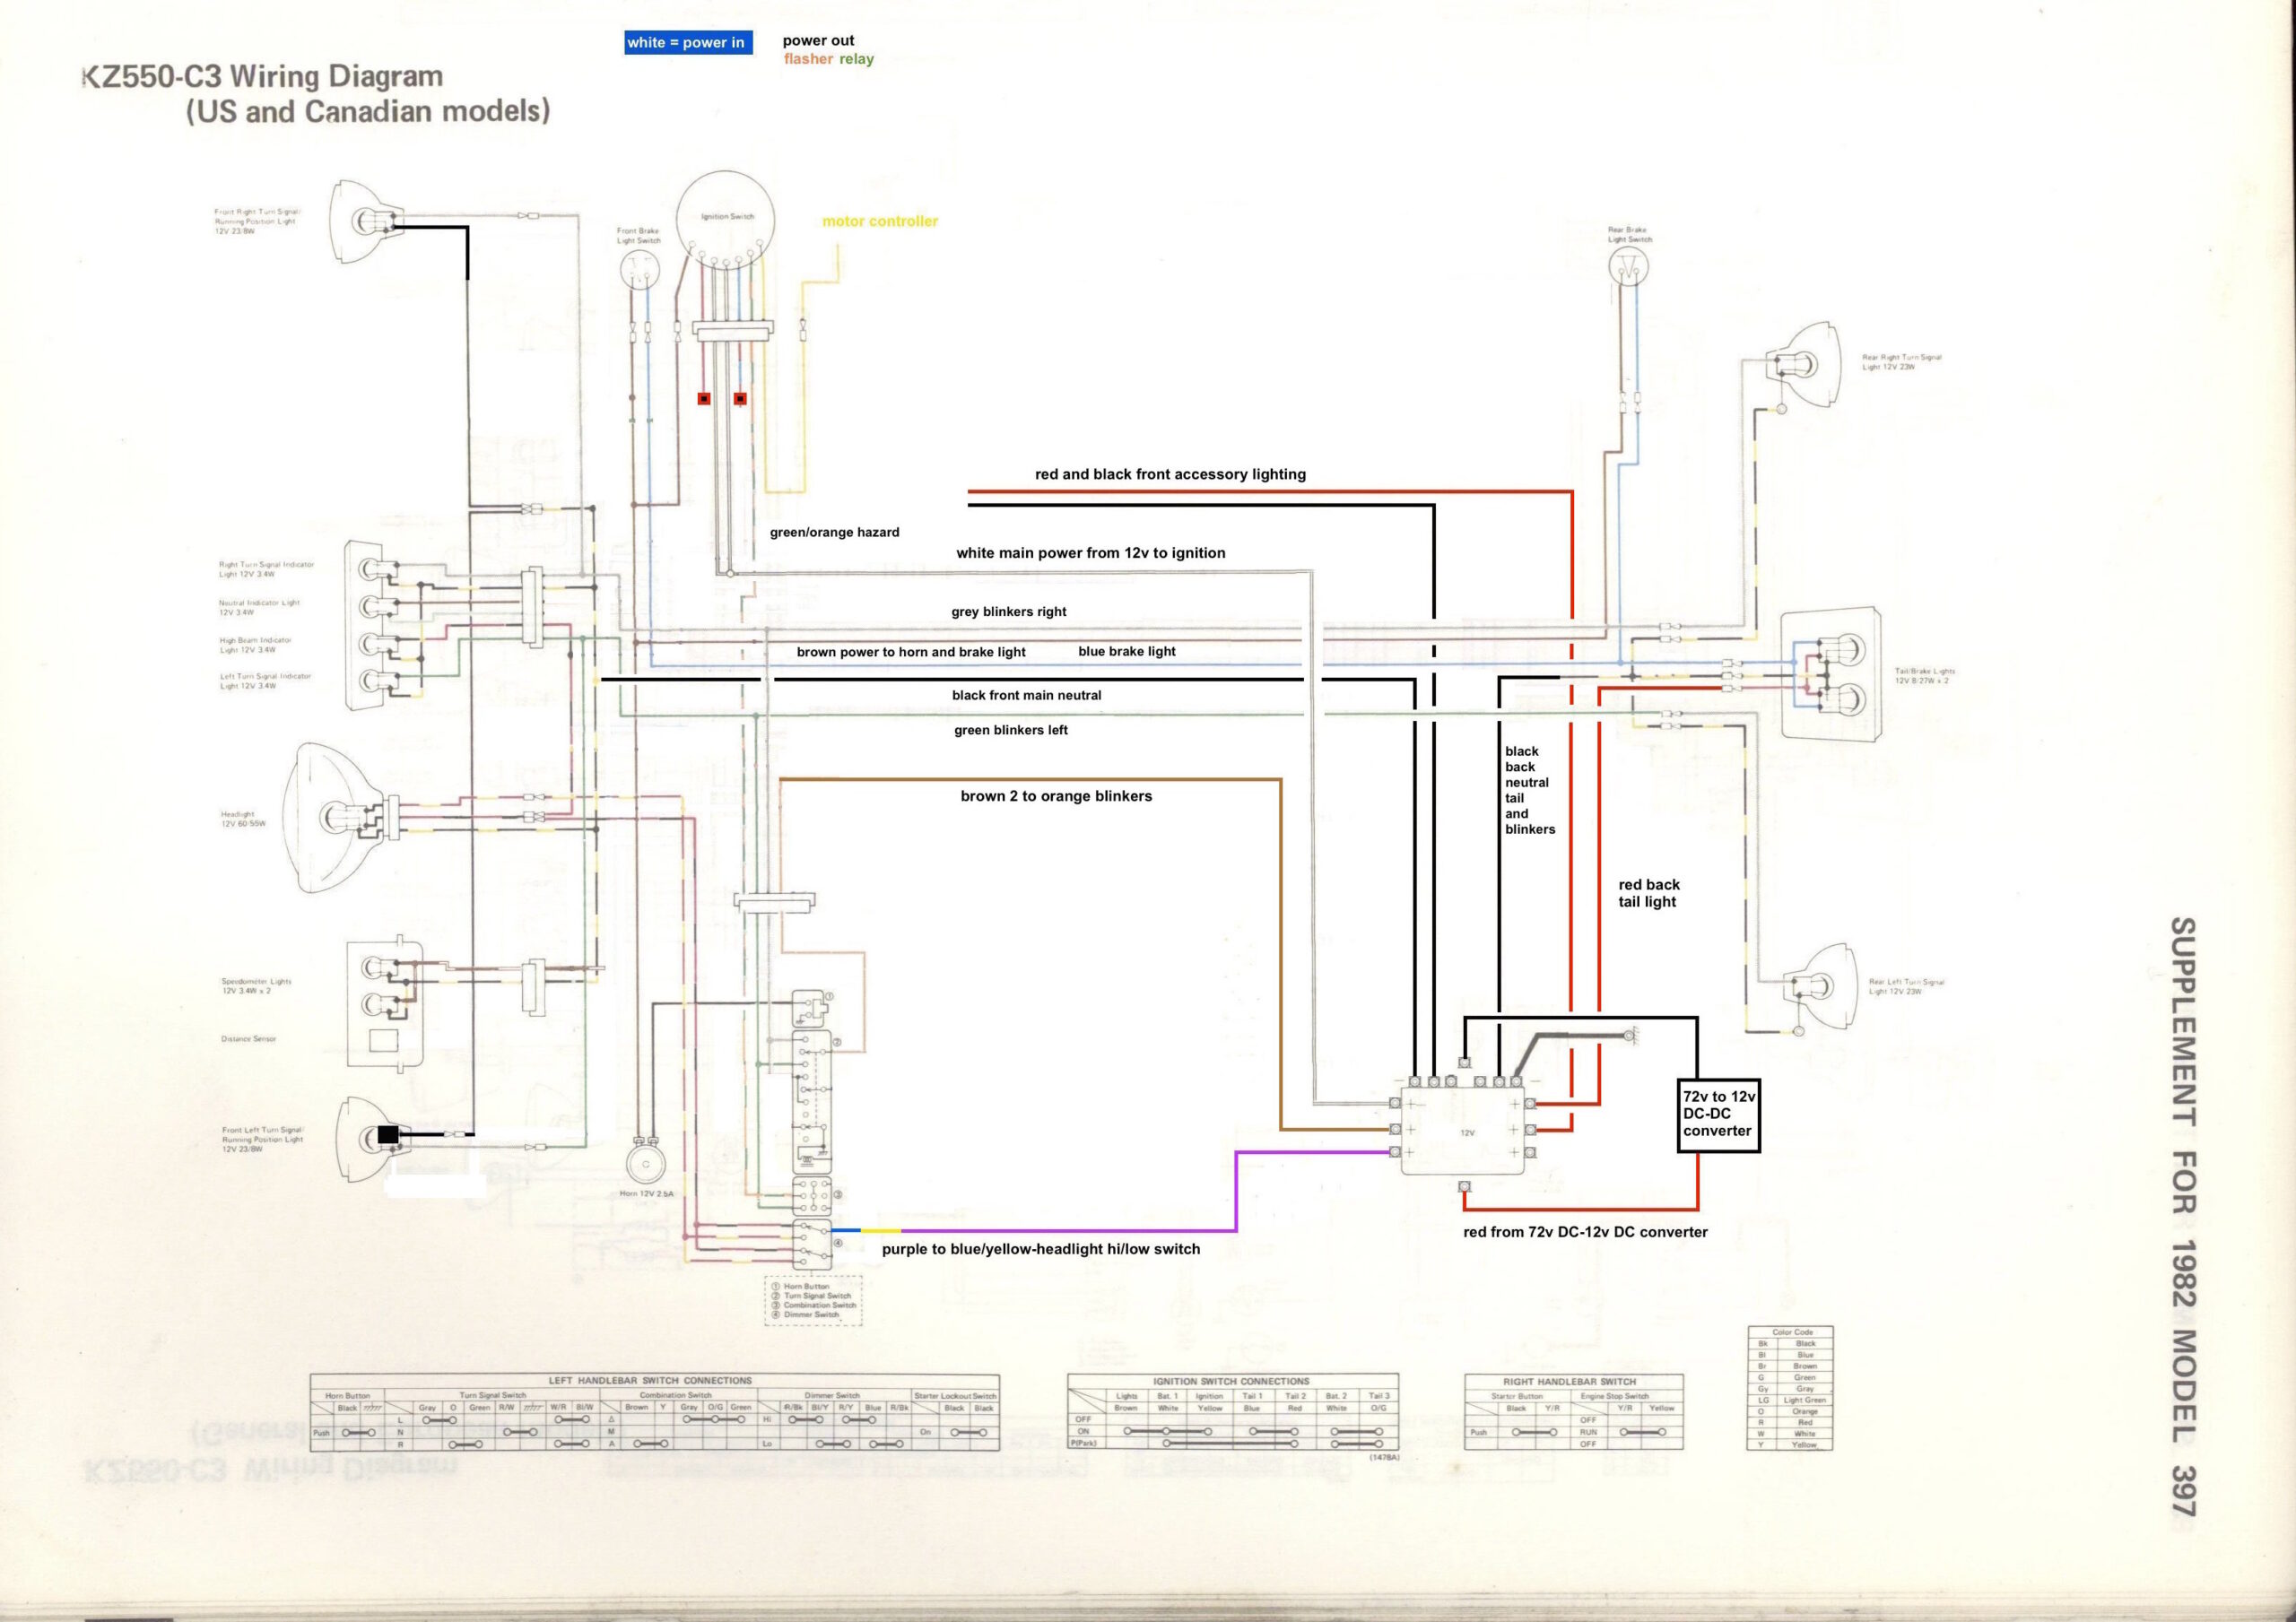
Modified a copy of an original (color) C3 model. Mostly deleting and then adding in. 12v source is the 72v dc-to-12v dc converter.
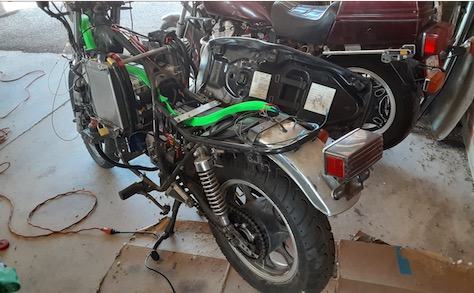
So have wrapped up just about everything in the wiring harness in the mid section and the rear of the bike. Just need to figure out how to mount the rear blinkers (yeah, not a standard blinker post depth), fix the negative line to ground to frame so the horn works (yeah, that stupid KZ method of using the handlebar as the ground path instead of a wire out from the left hand control can get in the way when trouble shooting).
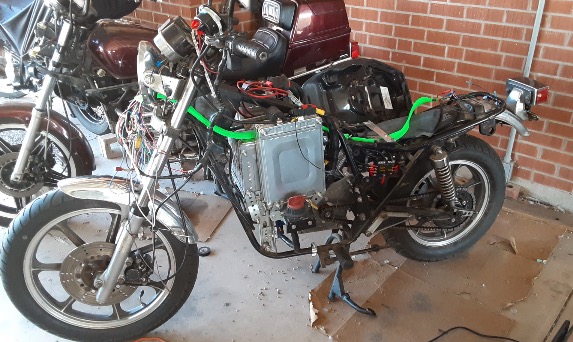
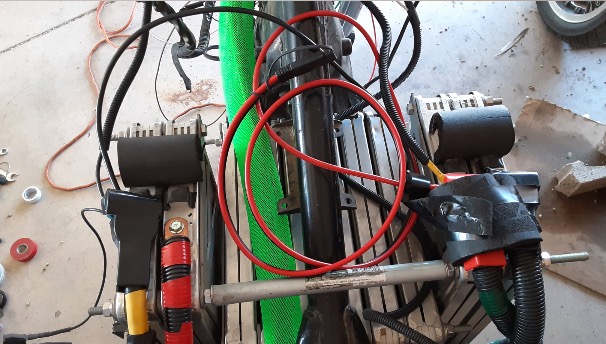
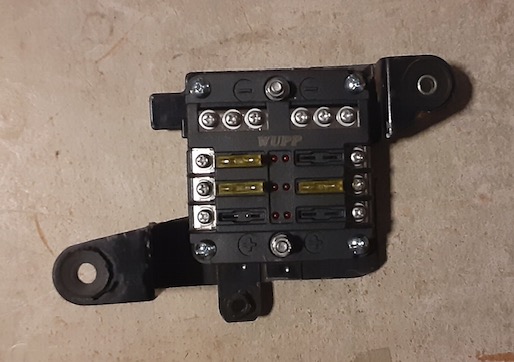
Pics are from the front side, rear side, and top. The bright green material is the sleeve for the new wiring. Each positive wire is run directly from the headlight bucket or ignition out (inside the headlight bucket) back to the fuseblock in the middle. Positive to the tail light and negative for the tail light and blinkers is from the fuse block directly. The fuse block has 6 positive circuits and a negative bus bar where all the negatives com back to.

So took a picture with the charging cable rolled up on the top of the batteries. Still need to figure out how to attach this to the inside of the tank or lid for easy access when i put the tank back on.
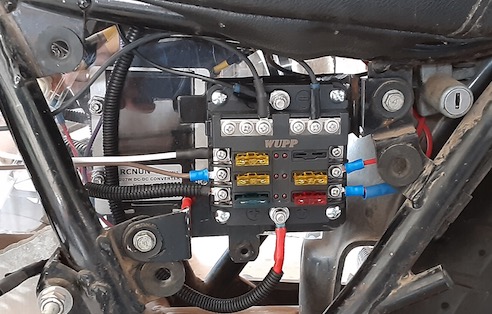
So the fuse block is installed with some temporary wiring. Have also identified what colors from the new ignition go where and have pretty much tied everything together with wire nuts and temporary crimps, until tomorrow and next weekend.
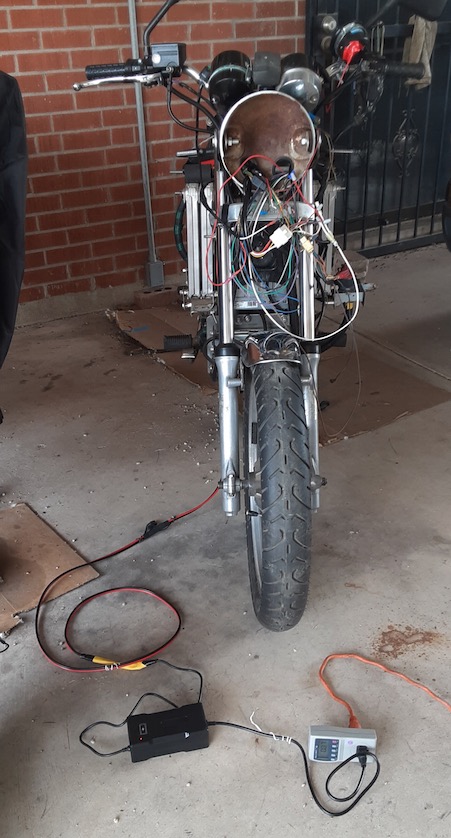
Got the bike far enough along that the wiring harness redo is almost done so I figured it would be a good time to charge it for once. Moral of story, buy a faster charger. It took about 11 hours to charge from 74 volts to 82 volts with a 72v (84v out) 3 amp charger. On the flip side the batteries did not get hot, though the fan in the charger ran continuously. The charging cable is a 10 ga SAE extension cable i cut in half and attached one side to the terminals on the inlet/outlet of the battery back and the other i spliced into the outlet side of the charger (yes, had to cut the old connector off).
So when working on getting the head and tail lights working last weekend (April 17) squeezing the front brake lever a couple of times worked until there was a frazzling sound & about half power to the brake light. Keying off power and then on again had it working again. Unfortunately while looking at the rear light wiring I heard a small pop from somewhere about the middle of the bike and lost all 12 volt power – so no more blinkers, no more brake light.
Working through the harness showed there was still 12v power off the DC-to-DC converter, and on the line to the ignition switch, but nothing anywhere else. Considering the harness is 38 years old it seemed a good idea to simply rewire from scratch instead of trying to chase down the exact point of failure as when fixing one bad wire there are more waiting to rear their ugly heads.
So, to start the re-wiring process i pulled the old harness, clipped off a few connectors that i can re-use, and started laying out new wiring runs, and then figured how out to mount a new fuse block. Sourced from Amazon the 6 circuit block has a common negative bus bar with individual positive circuits out. It took a little bit of finagling but figured out the easiest way to mount it was to take out the existing fuse mounting area on the left side, trim off the brackets to make it flat, and then drill mounting holes. New positive wiring comes into the sides, 12v power in from the bottom, out the top to separate negative lines.
Side view. Still need to button up wiring and figuring out why no power to headlight or taillight, but getting close. Front brake has been rebuilt and installed.
This, kiddos, is why your liberal arts teacher told you not to fool around with electricity or mechanical objects. Don’t cross the poles as the Ghostbusters once told you, it is good advice. The voltmeter still works but since i can’t tighten the now fused nut on the red wire I will replace it shortly with a new one, and be more careful when installing. Would be a good idea to have some type of cover once the first is installed – like a simple electrical tape wrapping.
